
Window screens are essential components of any home, allowing fresh air to flow in while keeping insects and debris out. Over time, window screens can accumulate dust, dirt, and grime, affecting the clarity of the view and the overall appearance of your windows. Cleaning window screens regularly is necessary to maintain a fresh and inviting atmosphere inside your home. In this article, we will guide you through the step-by-step process of removing a window screen for cleaning, ensuring that your screens stay in top condition.
Step 1: Gather the Necessary Tools
Before you begin, gather the tools needed for the task:
- Screwdriver: You’ll need a screwdriver (either Phillips or flat-head, depending on the type of screws) to remove any screws holding the window screen in place.
- Soft Cloth or Brush: Have a soft cloth or a brush on hand to remove loose dirt and debris from the screen.
Step 2: Identify the Type of Window Screen
Window screens come in various types and designs. The most common types include:
- Retractable Screens: These screens are designed to roll up and down, and they typically have a frame with a handle or a pull cord.
- Fixed Screens: Fixed screens are permanently attached to the window frame and cannot be removed without disassembling the entire window.
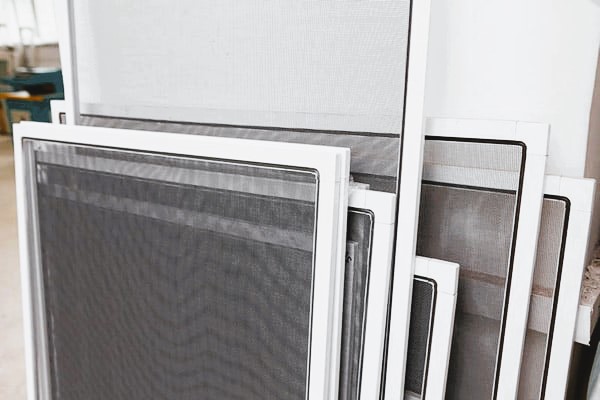
- Removable Screens: Removable screens are the easiest to clean, as they can be easily taken out of the window frame.
For this article, we’ll focus on how to remove and clean removable screens, as they are the most straightforward to maintain.
Step 3: Open the Window
Before attempting to remove the window screen, open the window fully. This step ensures that you have enough space to maneuver and safely remove the screen from the window frame.
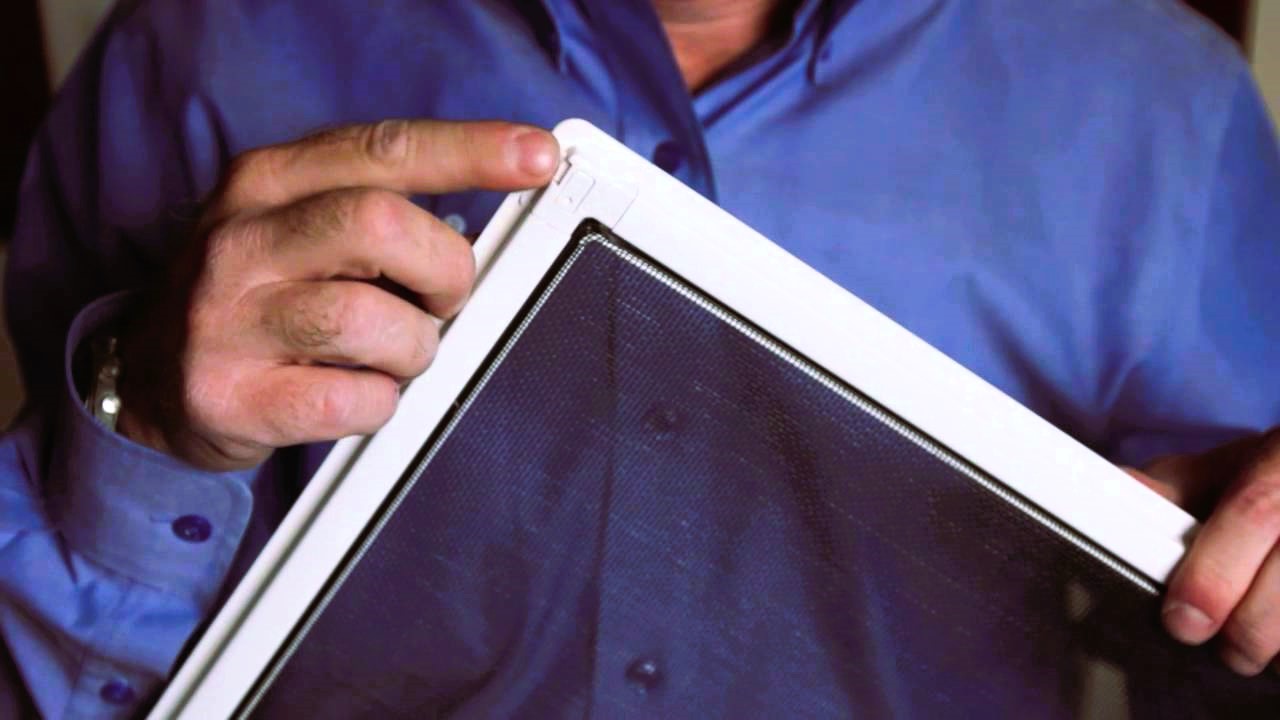
Step 4: Locate the Screen Latches or Tabs
Look for latches, tabs, or clips holding the window screen in place. These are usually located on the sides of the screen frame. Some screens have two latches, while others may have four, depending on the size of the screen.
Step 5: Release the Screen Latches
Using your fingers or a screwdriver, gently press or lift the latches to release them from the window frame. Be careful not to apply too much force to avoid damaging the screen or the frame.
Step 6: Remove the Window Screen
Once the latches are released, carefully pull the window screen towards you. If the screen fits tightly, use a gentle rocking motion to ease it out of the window frame.
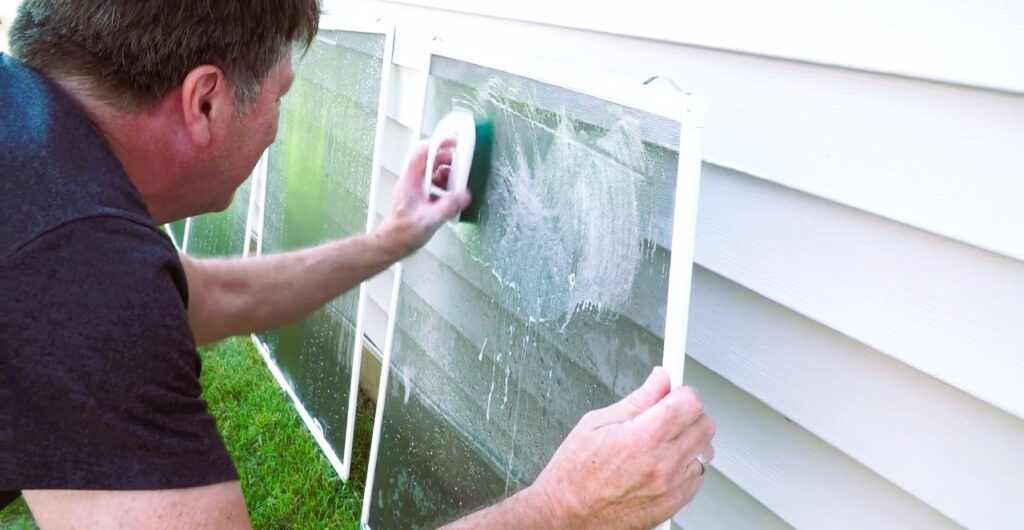
Step 7: Clean the Window Screen
Take the removed window screen to an open area, such as your backyard or patio. Lay the screen on a flat surface, and using a soft cloth or brush, remove loose dirt and debris from both sides of the screen. For more stubborn stains, you can use a mixture of mild soap and water to gently scrub the screen. Avoid using harsh chemicals or abrasive materials that could damage the screen’s surface. Like the article? Read also about the Life Cycle of Green Windows in an article titled From Production to Recycling.
Step 8: Rinse and Dry the Screen
After cleaning, rinse the screen with a hose or a bucket of clean water to remove any soap residue. Allow the screen to dry completely before reinstalling it back into the window frame.
Step 9: Reinstall the Window Screen
To reinstall the cleaned window screen, follow the reverse process of removal. Carefully align the screen with the window frame, ensuring that the latches or tabs fit securely into their designated slots. Press or push the latches back into place to secure the screen.
Step 10: Test the Screen
Once the screen is back in place, test it by opening and closing the window to ensure that the screen sits securely and functions correctly.
Conclusion:
Regularly cleaning your window screens not only improves the view and appearance of your windows but also enhances the flow of fresh air into your home. By following these simple steps, you can easily remove and clean your window screens, ensuring they stay in top condition and provide you with years of clear and unobstructed views. More information on the topic can be found on Wikipedia.